When renovating your bathroom or kitchen, choosing the right tiles can transform your whole space. Turkish, subway, penny round and porcelain — there are many tile styles to choose from and a lot of factors that come into play, such as room layout, tile size and budget. Let’s break down the fundamentals you need to know.
Floor tiles
The size of your floor tiles will depend on the size of your room. In the bathroom, a good tip is to measure the distance between your shower or bath and vanity; larger tiles can make a smaller space appear bigger.
With tiles 300mm x 600mm and larger, it is recommended to use a strip grate to prevent water build-up, which will also give the room a sleek, modern look.
Tiles have wear ratings which help to determine where tiles can and cannot be used. These ratings range from zero (wall-use only) to five (heavy-duty traffic).
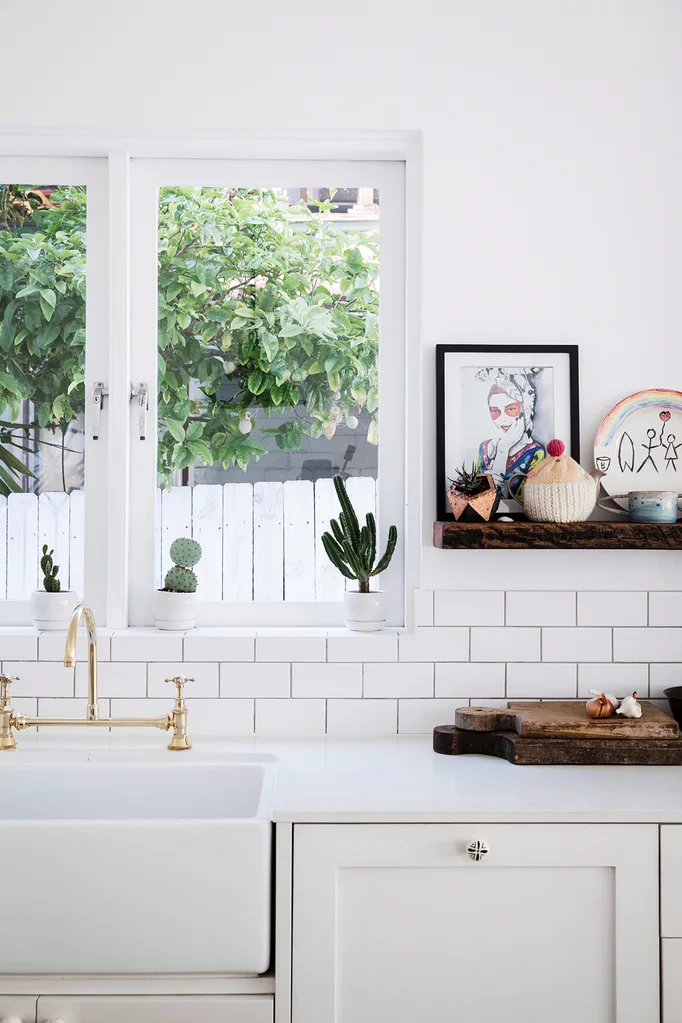
Use a decorative tile, such as a subway tile, in moderation. Photographer: Chris Warnes/bauersyndication.com.au
Wall tiles
A tile’s ability to repel water and stains makes it a hygienic and manageable surface area. However, dirt and mould often builds up in tile grout resulting in grout discolouration. Larger wall tiles require less grouting and can therefore be a smarter choice, however smaller tiles can add an artistic feature to a bathroom, but be mindful the extra grout will require regular cleaning. A good tip is to seal your grout, or try an alternative such as epoxy grout which is used in commercial kitchens and repels stains.
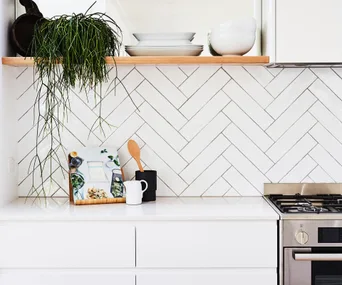
Instead, for a feature wall or niche to showcase your intricate tile design rather than committing to all four walls. Decorative tiles can create a stunning kitchen focal point when used as a splashback.
Beaumont Tiles‘ extensive range of mosaic tiles will allow you to make a selection based on your budget and taste. Fancy giving your bathroom a spa-retreat feel? Try their Calacatta Hexagon Mosaics.
Tile trends
Textile tiles
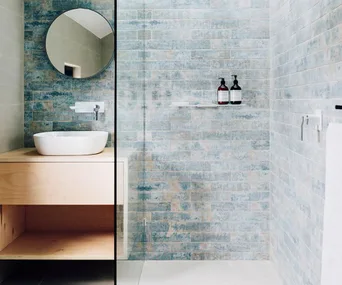
Making waves at recent European design fairs, textile-patterned tiles have recently been introduced to the Australian market. Adding a visual depth and richness to decor, the fabric-style tiles can transform a room’s overall feel and instantly modernise it. Made in Italy, Beaumont Tiles’ new Denim Tiles can be used on both floors and walls and are available in timeless shades of Off White, Beige, Grey, Dark and Blue.
Contrasting grout
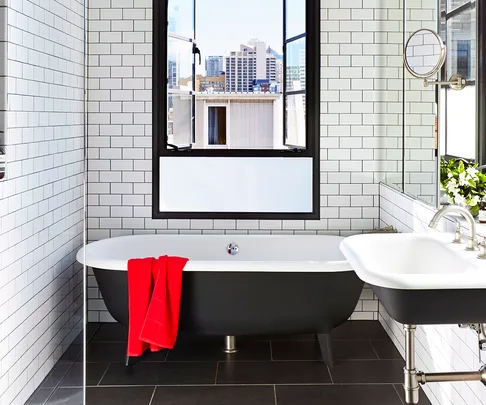
The latest trend in bathrooms is to use a dark grout to contrast and emphasise the pattern of the subway tile. This is an affordable way to give a typically classic look a Scandi-style edge, and will make cleaning easier. Use the design on walls, and pair with a darker floor tile.
Need a little help? Beaumont Tiles has created the What’s My Style quiz to help you choose the right style for your own home. Take it now and discover what style suits your space, plus get a personalised moodboard and inspo galore.
How to cut tiles
While cutting tiles evenly is easily achievable with the right equipment, it’s always best to buy a few extra tiles to account for possible cutting mishaps and test-runs.
First, borrow a tradesman’s tile cutter from your local tile or hardware store. Use a pencil to mark where the tile needs to be cut, keeping grout spacing in mind. Place your tile in the cutter and run the scorer along the line – once only – to create a break point. Push down the breaker to produce a clean, straight cut. Make sure to always use safety equipment when operating the tile cutter.
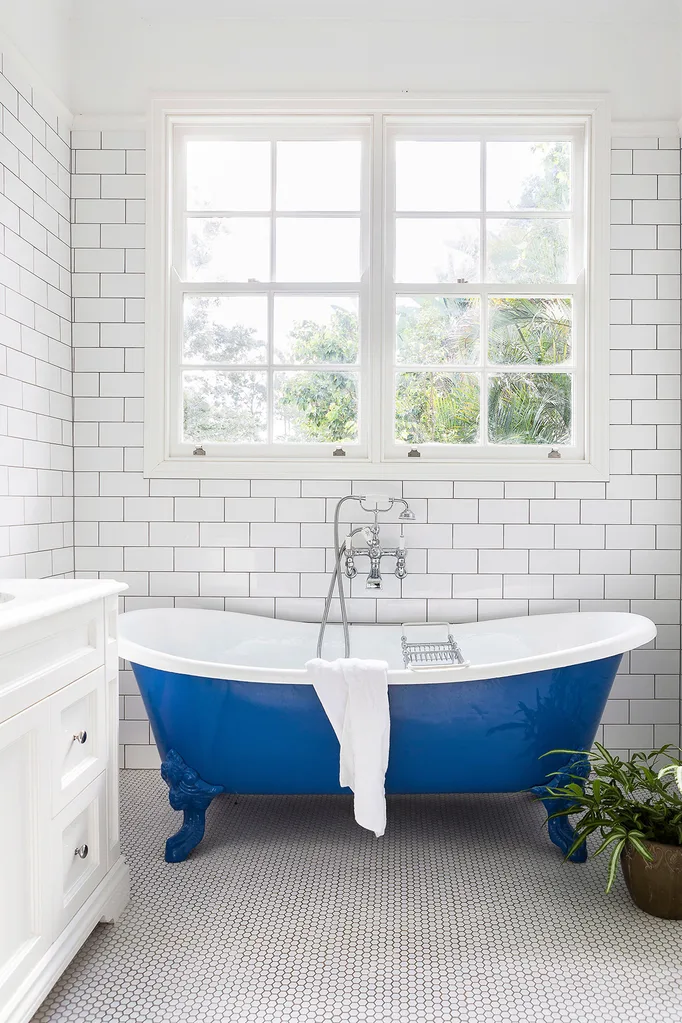
Mixing wall and floor tiles can create an interesting and timeless finish. Photographer: Maree Homer/bauersyndication.com.au
How to lay tiles
Before you begin tiling your floors, clean and waterproof your surface area thoroughly. To ensure you achieve your desired look, always trial your tile sizing and design by first dry laying tiles.
Mix your adhesive according to packaging instructions and spread approximately one square metre of adhesive on the area you plan on tiling using a trowel (note: the trowel size will depend on where your tiles are being laid so always check with manufacturers first). The tracks left by the trowel will flatten out to a 6mm-thick adhesive bed once your tiles are put in place.
Begin to place your tiles, pushing each firmly down with a slight wiggle motion across the adhesive notches. Use spaces to set even ground joints and use a wet sponge to wipe off excess glue as you go.
When the glue has completely dried, knock out your caps in the direction of the grout line. Always remove excess dried glue from grout lines with a Stanley knife before applying grout.
Grouting
Wearing gloves, pour a small amount of water into a bucket then mix in enough grout powder until the solution reaches a similar consistency to toothpaste. If tiling walls, lay down drop sheets to protect your floor from possible splash back. Using a grout float, spread a generous amount of mixture over your tiles. Ensure all tile gaps are full with grout by moving the float in a diagonal direction, then running its flat edge over the surface. Continue to add mixture until the joints begin to dry.
Take a damp sponge and wipe diagonally to remove excess grout. Once your grout has completely dried, buff tiles with a soft cloth.
After tiling
After tiling your floors, the tiles will need to be cleaned. Begin by firstly sweeping any loose debris away, then saturate your grout joints with cool water.
Dilute phosphoric acid in warm water and apply it to the tiles – keep adding water to your tiles to ensure phosphoric acid doesn’t dry. After five minutes, lift the tile dirt by scrubbing the surface with a brush, before vacuuming leftover dirt with a wet vacuum cleaner.
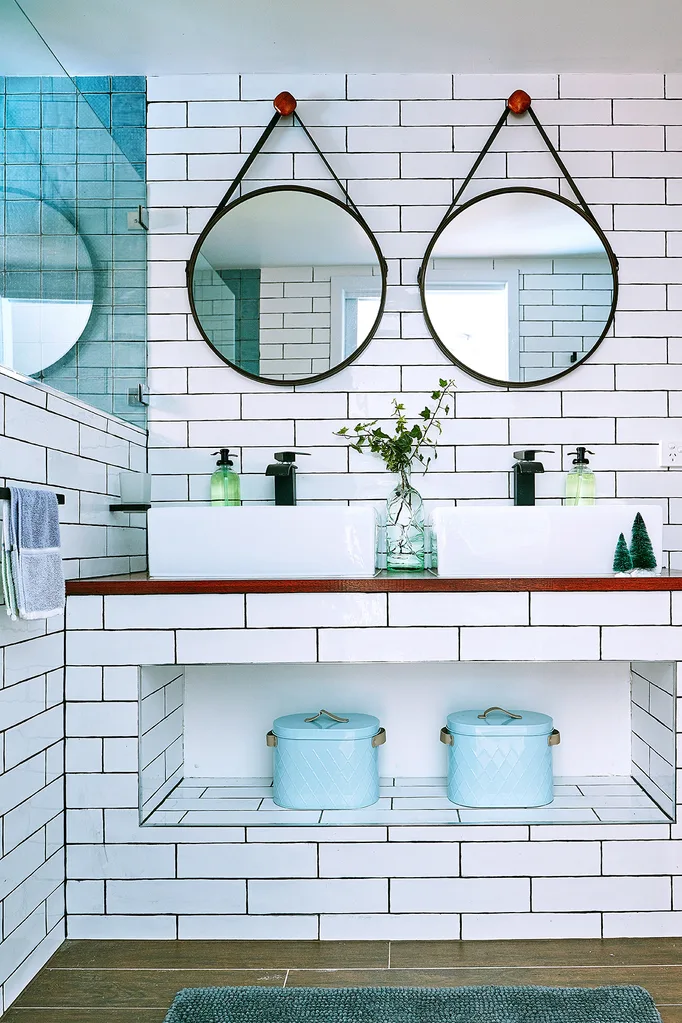
Contrasting grout colour with tiles has become one of the latest trends to wow European interiors. Photographer: Scott Hawkins/bauersyndication.com.au
Caring for your tiles
Regularly sweeping and vacuuming of your tiles is a good way to get rid of small, scratch-causing particles such as sand and stones. Good-quality doorway mats can also help by reducing the amount of dirt being brought into the house.
Tiles are a low-maintenance product, and can often be cleaned using a natural cleaning agent such as vinegar mixed with water. Avoid using abrasive cleaners or polishes and instead opt for a mild detergent or household cleaner. Use a mop or sponge and apply cleaner to the tiles, scrubbing grime, then mopping away the dirty solution before it dries.

